21 April 1918
lkdjfhslkgjhglkjfjfhglkjfdshfglkjhdslkjgkjgfdshgfdkjhgfdkjhgfdkjgfdhlkjgfdhgfdkjhgfdlkjgfdhgkjfdhfdglkjhgkjgfdhlkjgfdhgfdlkjhgfdlkjgfdhgfdlkjhgfdlkjgfdhlkjgfdhgfdlkjhglkgjhgfdlkjhlkjfdhlkgdjshdgflkjhlkjdshglkjhdslkjghlkfdsjhglkjhfdslkjgfhlkfdsjhglkjhfdlkjghglkfdjhglkjhfdlkjgfdhlkgfdjhgfdskjhgfdlkjhgdslkjgdshlkjgdshgdslkjhgfdlkjhgfdslkjhgfdlkjhgfdlkjgfdhlkjgfdhgfdlkjgfdlkjsh
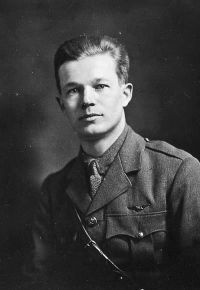
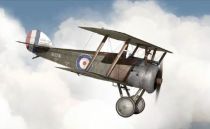
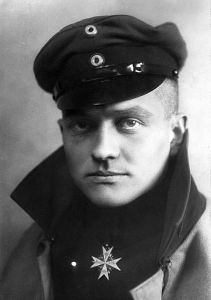
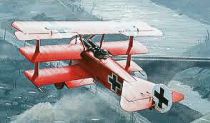
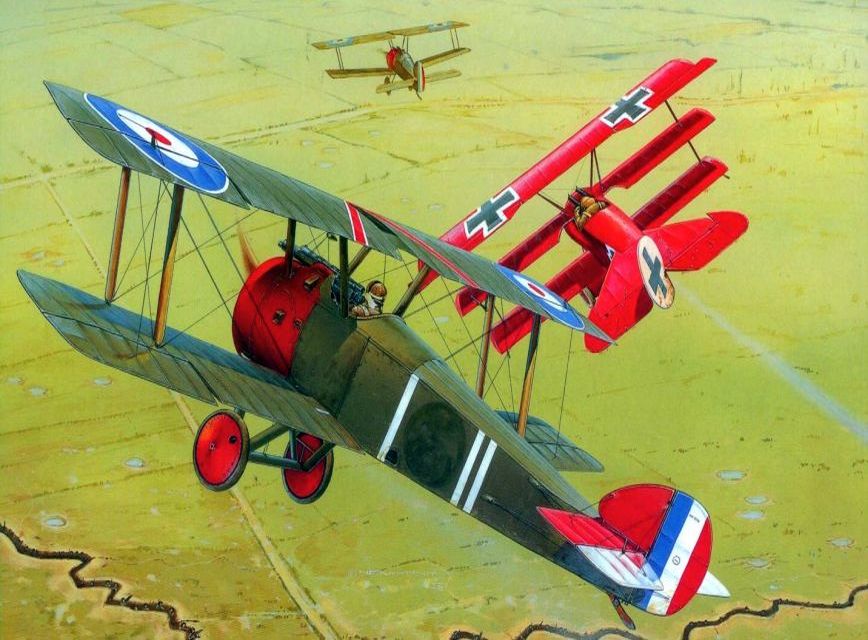
The day started cold and foggy, but cleared by 9 a.m., so both British and german aircrews warmed up their fighters. Camel BR 1s for the British, Fokker Dr. 1 triplanes and Albatross DVs for the Germans. Richthofer flew in his standard red coloured triplane, Brown in his now-khaki coloured Sopwith Camel.
Both flights left their respective aerodromes around 9:15 a.m. ...
Brown spotted the Germans first and motioned for inexperieinced fellow pilot "Wop" May to stay high out of danger...
Brown then wobbled his wings, the signal for attack, and led 209 Squadron down to the fight...
May remained at 12,000 feet and circled as instructed. When an enemy machine flew by underneath him, he let it go, again obeying instructions; but, when a second one appeared, he dove, fired, missed and followed it right into the thick of the fight...
Happy with surviving his first battle, May headed for the Allied lines,
but Rechthofen had spotted May as the pilot who fired on his cousin Wolfram...
Richtofen tracked May as he left the melee and followed him...
Von Richthofen was with May, moving in close and following every evasive turn as he waited to fire at close range...
Brown dove directly over Von Richthofen and was in position to give one burst. He saw Von Richthofen turn around at the moment he fired...
The Fokker continued on over Allied territory while receiving ground fire from the Australian and British troops. Then it wobbled and nosed into the ground...
The aircraft lay in the field for hours, subjected to artillery fire until Australian soldiers pulled Von Richthofen's body across a road to safety...
There was no doubt in Brown's mind that he had shot the DR 1 down...
After official inquiries, reports and on-site medical examinations, Captain A. Roy Brown was and still is officially credited with the downing of Von Richthofen.